
Ah, the sun! The great symbol of life, revered since man climbed out of the trees and wandered the earth. Not only does this celestial furnace nourish all plant life but it also provides a great way to preserve produce through drying. Fortunately our dependence on a clear afternoon is over with the development of mechanical dehydration.
One of the oldest methods for drying produce, specifically tomatoes, is using a kiln or an oven. While brick ovens were primarily used to bake bread they also meant you had the means to dry tomatoes; all you needed was low and consistent heat. After the bread baking was done for the day and the stone ovens were cooling, our ancestors could put in a batch of tomatoes and let them dry from the radiant heat. This method was used for thousands of years until electricity emerged as an accessible commodity. As large scale transformers strung direct current through urban life, brick ovens fell out of fashion and were ultimately replaced by their marvelous electric cousins. Convenience was one major reason for the switch: while the new ovens wouldn't retain heat for 8 to 10 hours like their brick counterparts, they provided the ability to turn food preservation into something less than an all day affair. Unfortunately the additional cost of electricity could be pricey.
A more recent invention is a food dehydrator used specifically for drying food. Food dehydrators are a lot less expensive to operate and are much more energy efficient. As of today, the most common method for drying is the dedicated Food Dehydrator. Preparation and dehydration is really quite easy:
1. Start out with the best quality tomatoes you can afford. Not too ripe, but firm without bruises or blemishes. Paste tomatoes like Roma or Plum work best because they are meatier with less seeds and juice. You can use a regular salad tomato but you may way to scoop out some of the seeds and soak up some of the juice with a paper towel before putting them in the dehydrator. Cut off the stems and try to slice the tomatoes as consistently as possible about ¼ inch thick. A mandolin slicer works good to get nice slices of the same thickness. Cutting the slices all the same thickness helps them dry at the same rate to minimize waiting time between batches.
2. Spray the trays lightly with cooking spray or rub the slices lightly with olive oil. This step saves a lot of time when trying to remove the leathery dried tomatoes from the tray when done.
3. Place the tomatoes cut sides up on the trays with about a ¼ inch space between each slice, don't let the slices touch.
4. Set the dehydrator at 135 degrees F if possible or somewhere between 130 and 140 degrees Fahrenheit. Lower temperatures take longer to dry and often give more time for bacteria and mold to grow. Temperatures higher than 140 degrees can cause the slices to dry too fast on the outside and sometimes leave the middle too moist.
5. Depending on your dehydrator you may have to rotate you trays top to bottom and turn front to back to get consistent drying. The cheaper your dehydrator the more work you have to do. Drying time usually takes about 8 to 12 hours again depending upon humidity of the room and your dehydrator. Check the status near the end of the suggested drying times. Tomatoes should be leathery but not tacky. You can also dry them crispy depending on how you like them.
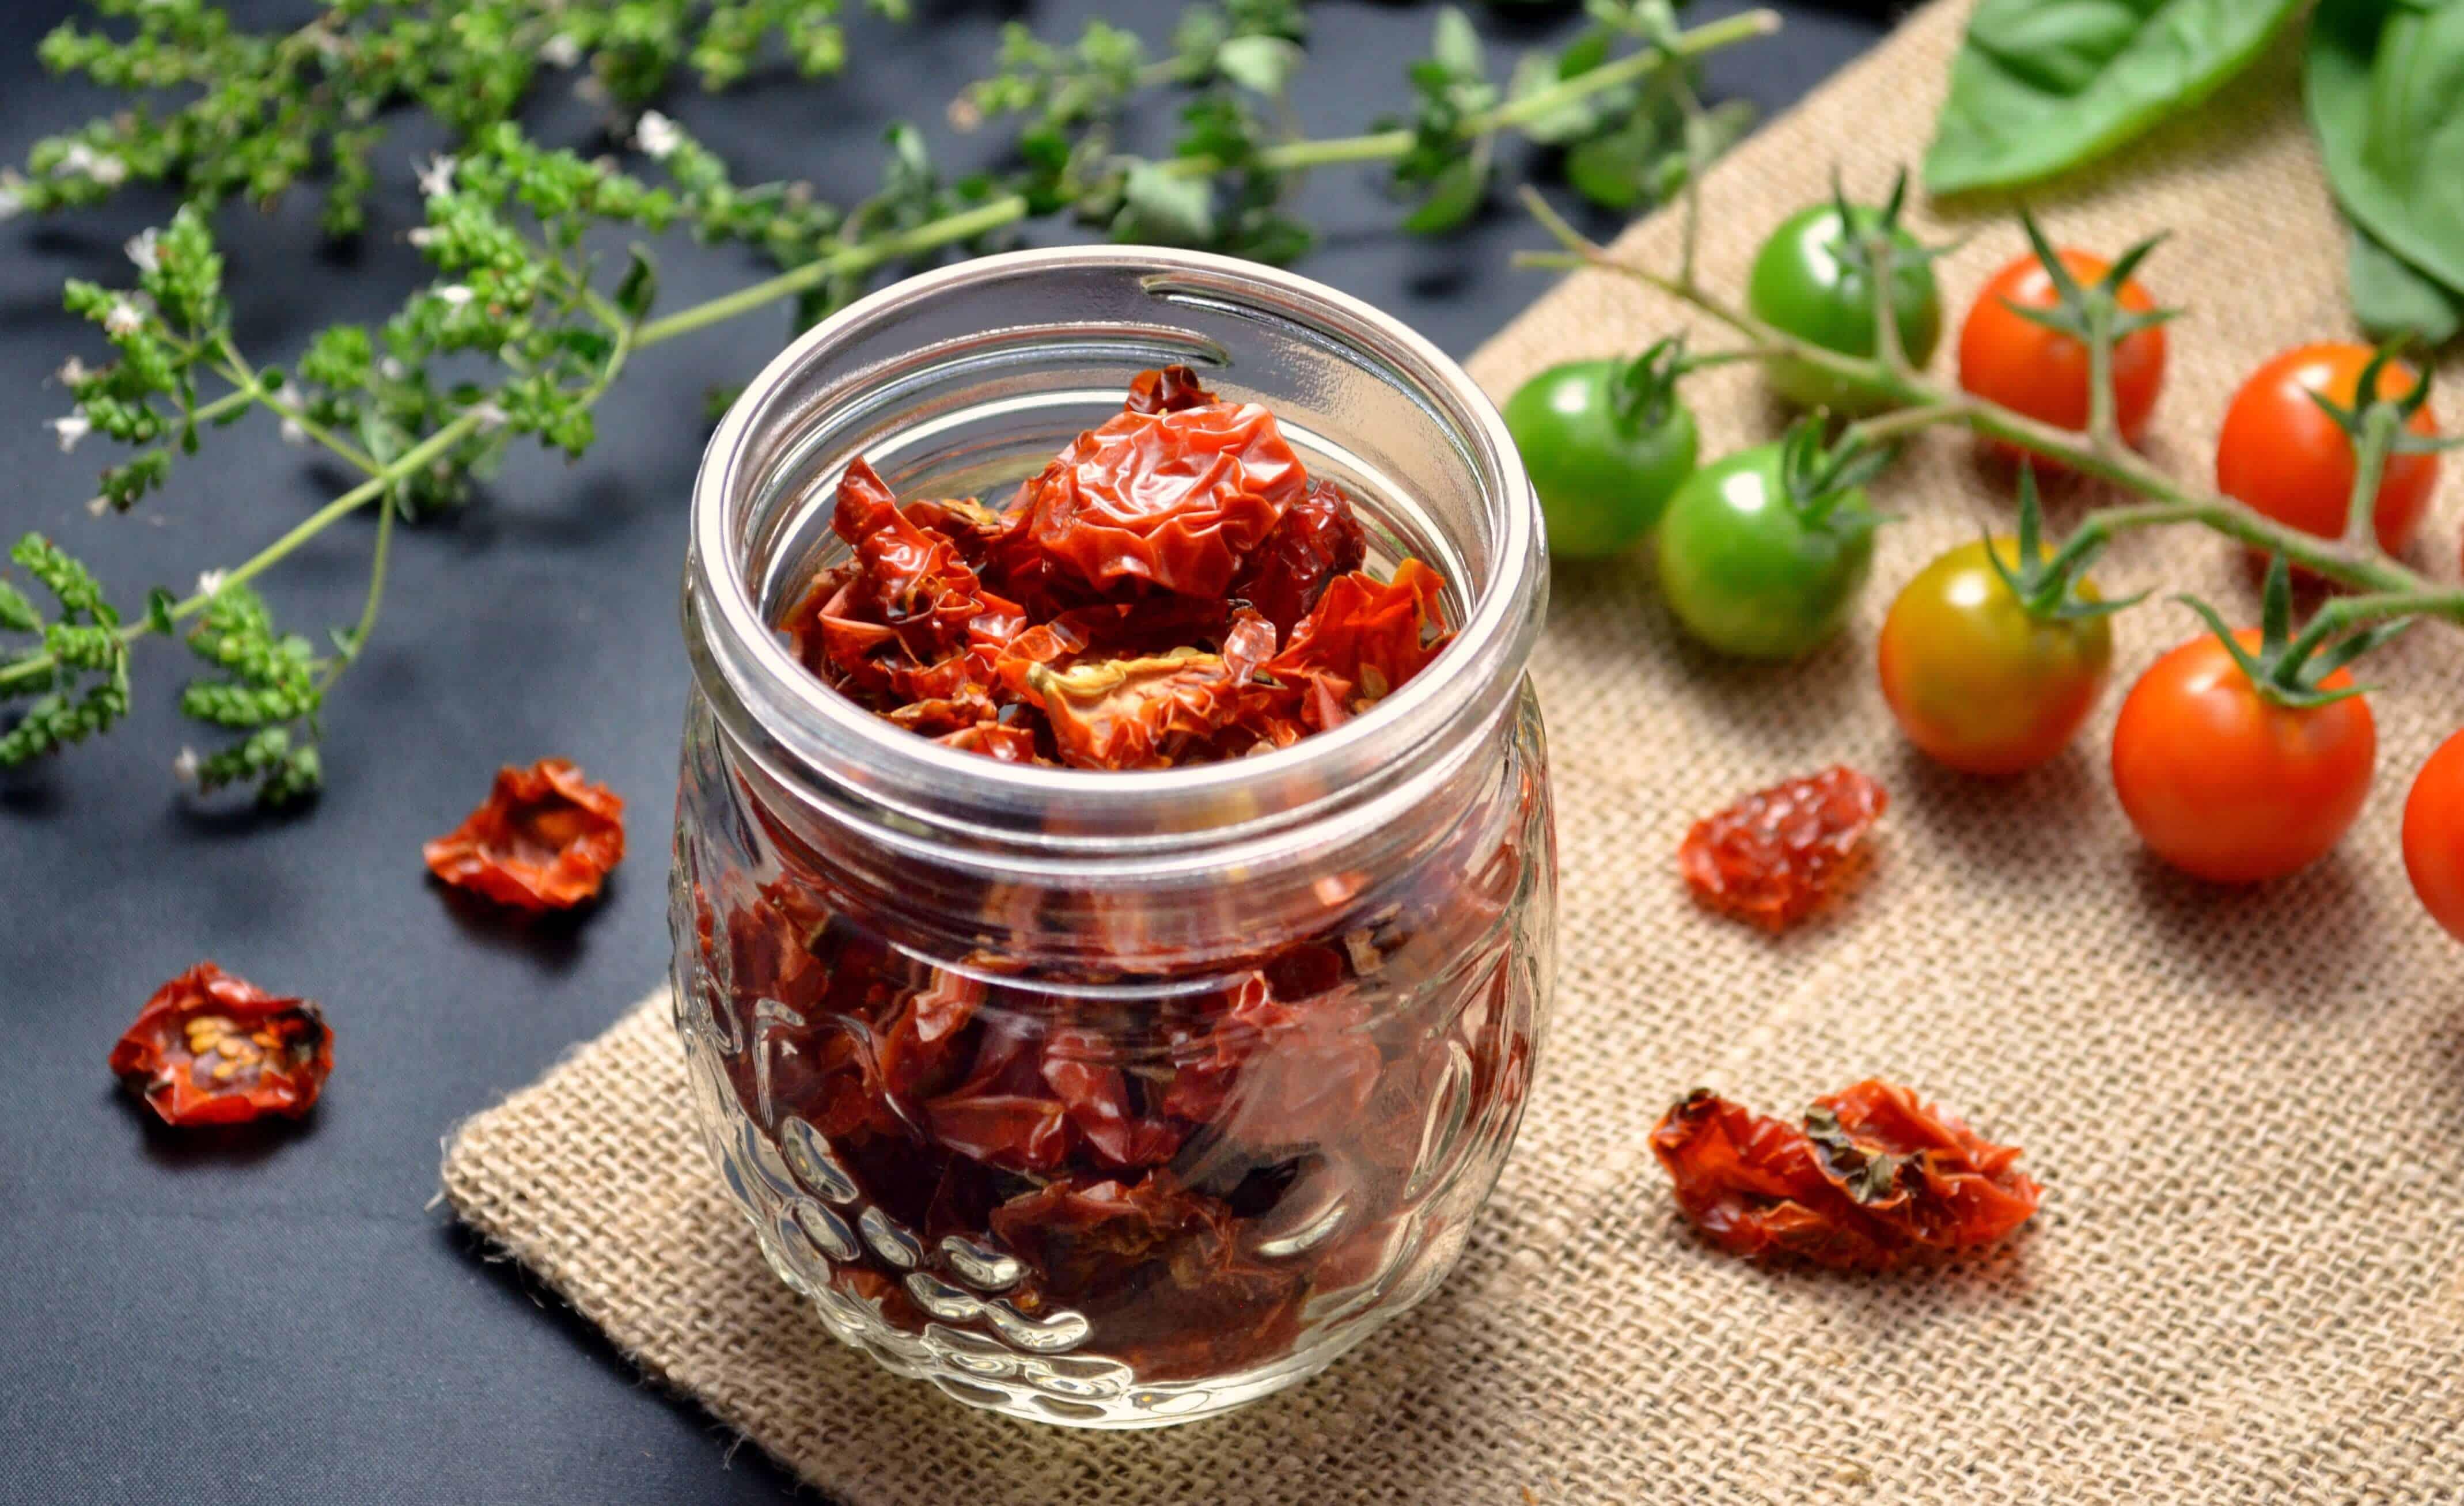
6. Remove dried tomatoes and store in an air tight container the less air the better. Vacuum sealing is best if you have a vacuum sealer. Store in a cool dry place and if they were dried properly can last for up to a year. You can also purchase small desiccant packs to place in with the dried slices if you like. Dried tomatoes can also be stored in vegetable oil.
7. If you want to rehydrate or reconstitute the slices just soak them in warm water for about 15 to 20 minutes.
8. Use as needed, they make great snacks as the flavor is very intense. Just make sure to keep them in an airtight container because they will absorb moisture and any other flavors lingering in your refrigerator.


No Comments