Installing ceiling tiles can be a hassle if you do not have clear and detailed instructions to follow. Surely, when you buy a bunch of ceiling tiles you assume there will be an instructions list. But sometimes the list proves ineffective and you have no other information to rely on. The process of installing tiles is arduous and should be done with utmost care. Following simple steps is not going to make you successful with the endeavors of the installation process.
For that, you have to pre-plan and visualize the process accurately. Here are the steps you can follow to streamline and execute the ceiling installation process.
1. Tile Selection
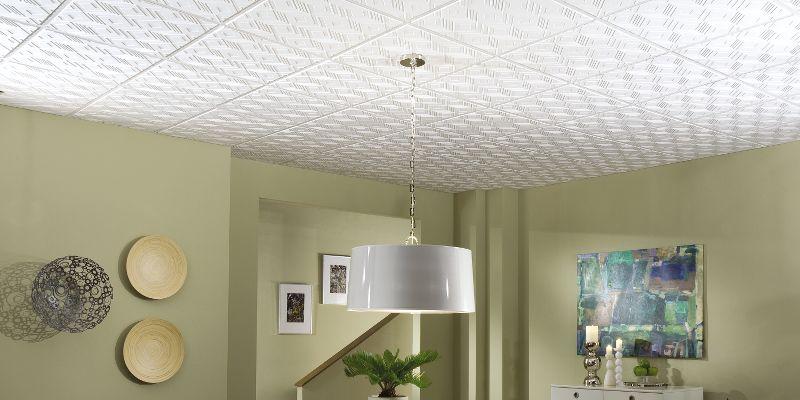
You have number of options to select from. Know that every ceiling type requires a different type of tile. Suppose, If you are placing tiles for a suspending ceiling then you would require bars to support them. In that case, resilient bars installation is a befitting choice. The next phase is to consider the tile size. The commonly used size is 1 square foot but you can customize the size accordingly. For more appeal, textured tiles with unique patterns are a unique find as well.
2. Applying the Tiles
Once done selecting the tile types, you have to immaculately install them. There will be need for adhesives or nails-staples for tile application. How do you differentiate between the two? Now if you are applying the tiles on a rough surface then nails-staples is a better approach. If the surface is glossy or smooth then adhesives is the best choice.
3. Size of the Border Tiles
The border tiles have to be attached according to the distance given in each wall. Begin with measuring the distance in between the walls and the section where the tiles are needed to be installed. For a broader space, a thicker border tile is perfect. However, if the space is narrower then smaller border tiles would do in each section.
4. Adhesive Tile Application
Whether smooth or matte finish, the surface has to be observed before applying adhesive tiles. Make sure you apply a bunch of tiles at once to view how the final result would look after it dries since drying itself takes several days. The easiest way is to take a piece of chalk and draw lines along the border where the tiles will be applied. Now on to the tile cutting phase. Ensure you have chosen a flat surface to cut the tiles on. There is even the possibility of an adhesive tile to fall apart.
5. Stapling Down Tiles
As mentioned earlier, the adhesive tiles have the tendency to fall apart. What you can choose to do is staple the tiles to strips before applying. That is only an additional session since tiles can be stapled without the need of a furring strip. Cut the excess part of the tiles and cut down any area that is hindering in the installation process. After the tiles are perfectly cut, apply the borders with tiles and then add the real tiles to fill the remaining spaces.


No Comments