
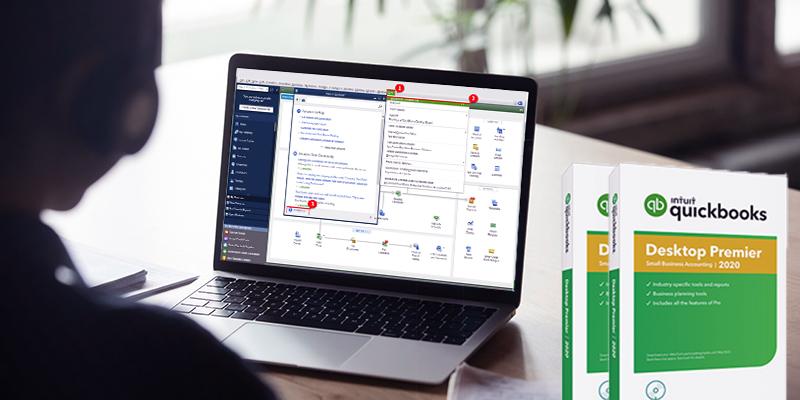
While installing QuickBooks Desktop Premier 2020, users come across a few issues. At times it is super easy to install and then suddenly some unexpected problems arise. In this article, we will discuss all scenarios one by one. Let us begin with the installation process first:
Installing QuickBooks for the First Time
If you are not using any version of QuickBooks or your system doesn’t have QuickBooks, here is a straightforward process to install QuickBooks Desktop Premier 2020. Follow the steps below:
Step 1: Purchase QuickBooks from the Intuit website. After downloading the software, Windows will prompt you to run the InstallShield Wizard. It is a separate program to start the QuickBooks installation program.
Step 2: Accept the terms of the license agreement then click Next.
Step 3: The next message will ask for License and Product Numbers. You can find it on the CD you purchased or in the purchase confirmation email if bought from the site. Enter the information and click Next.
Step 4: You see a Custom and Network Options window. Specify whether you will be sharing the QuickBooks data file over a network. Choose the options in the given list then click Next.
Step 5: In the Upgrade or Change Installation Location window. Mention the installation location or if you want to go with the default location, then simply click Next.
Step 6: Click Install to begin the installation. It will take a couple of minutes.
Step 7: Once the installation is finished, you can see a new item on the Programs menu and also new shortcuts on your desktop.
Step 8: Activate the QuickBooks Desktop Premier 2020 for first-time use. You have to provide your identifying information in a couple of steps. If you have been using the old version, QuickBooks can guess your identity referring to the old product registration information available on your computer. You simply have to confirm your identity.
Installing QuickBooks Desktop Premier 2020 While Using Older Version
However, there is another scenario. Most of the users who are already using QuickBooks 2017 want to move to the newer version that is QB 2020 Premier. The only issue is that when they purchase the software and try to download it, they get a strange message, “QuickBooks 2020 Premier already exists in your computer”. So how to troubleshoot the issue? Well, here are two solutions to help you.
1- Uninstall the QuickBooks Desktop
If you are getting a message saying the software already exists in your system then there can be a possibility that it is installed or partially installed. To check this, go to Windows settings and find QuickBooks Desktop Premier 2020 in the installed software. If it is there, simply uninstall it and start all over again. Here is how you can do it:
Step 1: Go to the Windows Start menu and open Control Panel.
Step 2: Select Programs and Features or Uninstall a Program.
Step 3: You will see a list of programs. From there select the QuickBooks Desktop version you want to uninstall.
Step 4: Select Uninstall/Change->Remove->Next. In case, you don’t find this option, sign out and sign back into Windows as an admin or a user with admin rights.
Step 5: Once you have uninstalled the version, now reinstall QuickBooks Desktop.
If the above solution doesn’t work, you can do the solution number 2, given below.
2- Download QuickBooks Tool Hub to Fix the Errors
The other option is that when you get the message, select No to options you come across. If you still can’t access the tool, then follow the given below steps:
Step 1: Before starting, make sure your QuickBooks Desktop on your system is closed.
Step 2: Download the QuickBooks Tool Hub and save it at your convenient location where it is easily accessible.
Step 3: Open QuickBooksToolHub.exe that you just downloaded.
Step 4: As you open the file, it will keep popping up messages to guide you through the installation process. Follow the steps and check the box to agree to the terms and conditions.
Step 5: Now, you can see the tool icon on your desktop. Open the tool hub.
Step 6: After opening it, select Installation Issues.
Step 7: Now, select QuickBooks Install Diagnostic Tool.
Step 8: When done, put your system to restart.
Now, you can see the QB 2020 premier icon on your desktop and access it like the older version.
Summary
The above-detailed process given in step by step will surely help you install QB 2020 in all possible scenarios. Still, if you can’t troubleshoot the issue, you can contact the Sagenext QuickBooks support team for instant action.


No Comments