Focusing is also known as z-stacking, a post-processing technique for increasing depth of field in photographs. This is done by combining several images taken with different focal lengths. This processing produces an image with a much greater depth of field than the original image.
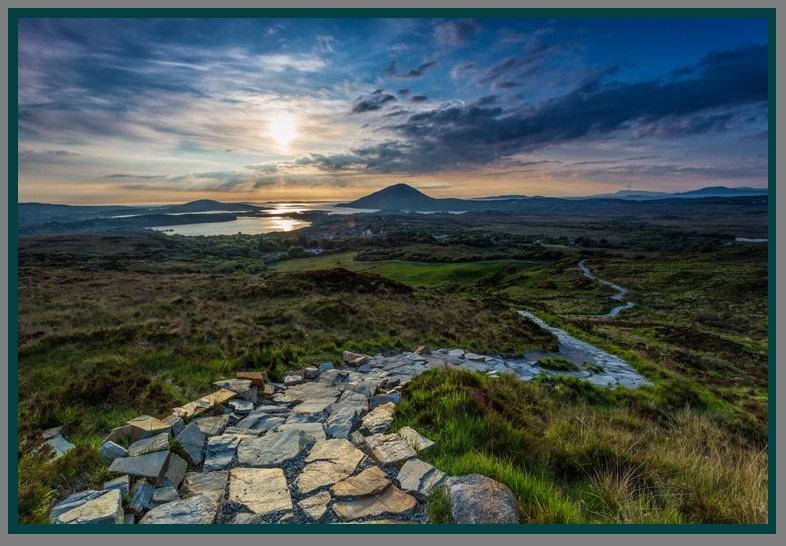
Focusing is widely used for macro photography, like landscape photography. In today's post, I am going to discuss how you can use this method for your landscape photography.
With wider lenses and more extreme front areas, it's getting harder to get a clear image in landscape photography. Even if you use optimal apertures, they should not get both the background and the front sharp as you wish.
Therefore, to fix this problem, the focus layout is widely used by photographers. Photographers may need to use focus styling as the idea of ​​sharpness varies between photographers. If you would like to take professional photo retouching services, clipping path service, shadow making service, contact them.
Get ready! Using your tools
To do focus stacking, you need equipment first. I would recommend the following.
• DSLR or MILC with Live-View
• Manual focus mode used in the lens
• Tripod
• Remote shutter release
• Circular polarizer
• Adobe Photoshop
• Tablet foam
Focus laying is used in different compositions. However, you can break them down into several of the following main categories. The number of frames required and settings depend on certain groups. Types -
• An object that does not move
• An object that moves a little
• Proximity to the subject
Shoot and shoot !!!
Before you start shooting, analyze your composition and pay attention to the scene in your mind. Note if there are moving objects in the scene that you want to sharply visualize. It can be trees of flowers, grass. First, you must consider the shutter speed.
Typically, a lower shutter speed does its job. As a rule, many landscapes are shot in low light; you may need to increase your ISO and open the aperture. However, remember that increasing ISO will increase noise.
If you open the aperture, it will reduce the depth of field. Then you may need to add frames. Generally, you want to shoot f / 8-f / 11.
When you're done choosing your ISO and aperture, it's time to shoot. I am going to share some steps you can follow. Just remember that the more lenses fit the subject, the more you need to take pictures.
Then follow these steps:
1. If your camera is fixed on a tripod, turn on the camera in Live-View mode (the screen on the rear panel shows a set of scenes).
2. Make sure your camera and focus point are set to the manual center and reduce vibration
3. Move the center casing to the straight completed position, the closest object in the body
4. Use your zoom capture during playback to enlarge it. As a rule, zoom in beyond what many consider possible, and then retreat more than once.
5. Since you can instantly see an object, use the focus ring of the focus hub to focus around this place. Live browsing makes it easy.
6. After you are busy, confirm the presentation settings and use your remote screen to take your first case.
7. Lock the playback capture and check the image. Zoom in to almost measure the depth of the area that you have made, and carefully examine where you lose sharpness to ease it. You will need to focus a little behind this place right away.
8. Return to Live-View, move the center housing to the location indicated in # 7. Repeat command # 4-7 for the same number of edges, which is expected to cover the entire depth of field in the scene. It can be two pictures or 12; it all depends on the scene. (When you get this agreement, you will have the opportunity to do it much faster than the first time!)
9. When you have all the photographs necessary for the depth of field, ensure that you have additionally maintained an adequate introduction. You may need an additional advantage for the sky (or another beautiful region) if your histogram shows that you blew up your functions.
You can guess that an object that does not move is easy to grab and shoot. Thus, they are easy to organize in the focus stack. Moving objects can also be stacked. In addition, proximity to the subject will undoubtedly vary the number of shots to get the full depth of field.


No Comments